Recovering data from an external hard drive is one of the most common problems faced by Mac users. If a hard drive fails, your data is gone — if you didn’t back it up, that is. Luckily, there’s a way to get it back.
This guide will help you learn how to recover data from an external hard drive in case it suddenly stops working. We’ll take you through the process of unplugging, connecting, and re-booting the drive to get your data back, and also show you how to back up your Mac so that you can restore it later.
What to Do When an External Hard Drive Suddenly Has a Problem
The first thing you need to know when trying to recover data from an external hard drive is what caused the damage in the first place. If your drive has been damaged due to an electrical issue, you should be able to tell by checking the hard drive. If there are signs of physical damage, which could include scratches, scrapes, dents, or cracks, you should try to recover the data on the hard drive before doing anything drastic, like reformatting or replacing the drive.
Recovering the Data on an External Hard Drive
If your data is safe and sound on the drive, you don’t have to do a thing! To recover data from an external hard drive, turn off the computer, unplug the drive, remove it from its enclosure and then open the case. Take a look inside and make sure that the disk is spinning. If it isn’t, you’ll need to get it spinning again. Once it is, use a USB data recovery disk to recover the data from the drive.
The usual advice with recovering data from a hard drive is to fully format the drive before you copy over the data. This should get rid of any leftovers on the drive that could cause the drive to not recognize the data. That said, we don’t recommend you rush into all-out reformatting. You’ll lose a lot of data that way, and it’s better to be safe than sorry.
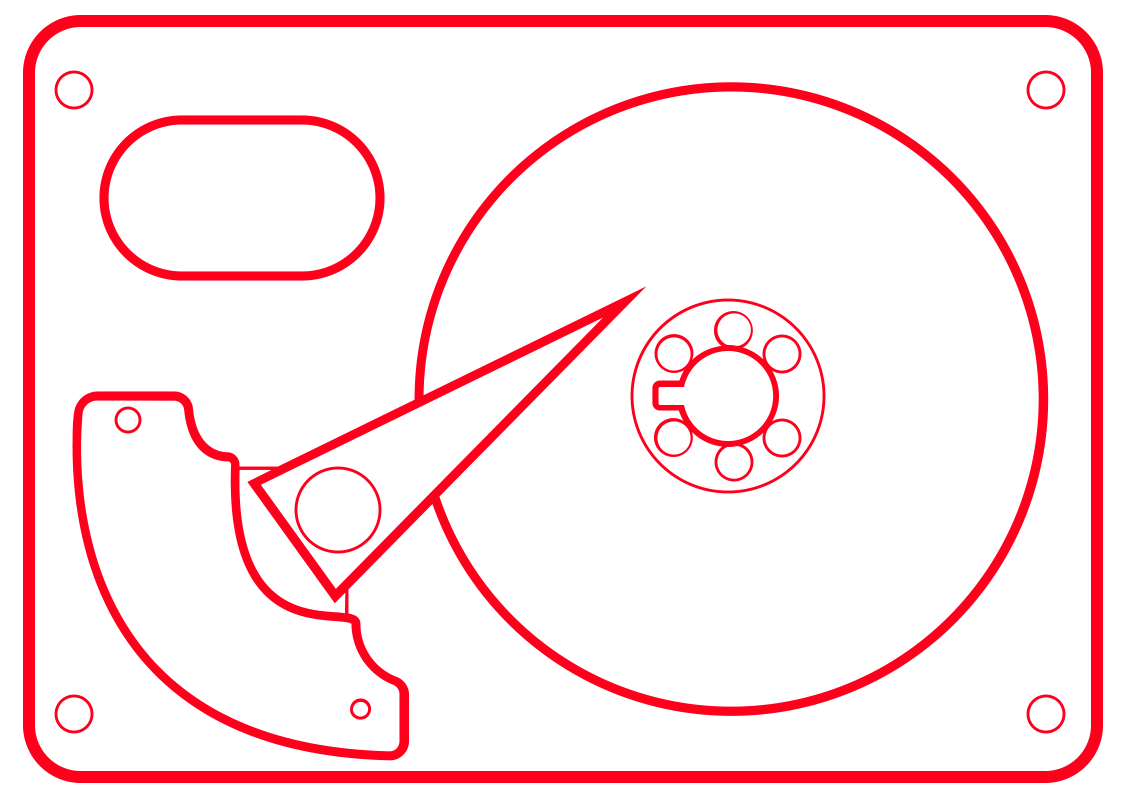
The first thing you’ll need to do is get the hard drive out of its enclosure, which could be a little tricky. Certain enclosures are easy to open, but others are not. If your drive is enclosed in a metal case, it may be best to take it to a professional data recovery shop. If the enclosure is plastic, it may be possible to pry it open with a screwdriver.
If you are able to get the drive out of its enclosure, take a close look at it to make sure it’s not damaged in any way. It should look like any other regular hard drive. Next, connect the drive to your computer with the included USB cable. If you can’t see the drive, do not connect the drive until you have connected your computer.
If you are able to see the drive in Disk Utility but aren’t able to use it, check to make sure that the drive is working. If you see the drive spinning up and down, it’s working, but it’s not recognized as a drive. If this is the case, connect the drive to another computer (or your iPhone/iPad) and see if it’s detected.
If you are unable to use the drive or are able to repair it, you may have to replace it. Luckily, they’re cheap, usually around $20.
Now that the drive is connected and working, you can use Disk Utility to recover the data on the drive.
How to Use a USB Data Recovery Disk to Recover Data From an External Hard Drive
If you aren’t sure if the drive needs to be replaced or repaired or if you aren’t able to use the drive, a data recovery disk is the best option. These disks are specially made disks that can be used to read data off of a damaged drive. They’re very useful for recovering data that ends up on the wrong drive, or for recovering data from a damaged drive or hard drive.
The first step is to create a bootable USB recovery disk. To do this, insert your Mac into its recovery partition. This is usually done by holding down the C key while turning on the Mac. (If you have a Mac with a different method of booting into recovery mode, refer to the article linked above for instructions.)
Now connect the drive to your computer and copy the data off of it. Once the data is on the recovery disk, make sure that you have the drive connected and securely seated in its enclosure. Once the drive is securely seated, boot your Mac using the recovery disk.
Disk Utility will open, and you’ll see a section called Target Disk with a list of all the disks connected to your computer. You’ll be able to see the external drive listed here. Select the external drive, and click the Restore button.
The drive will spin up and then you’ll be able to transfer the data back to your Mac. Once the drive has finished spinning and the data has been transferred, disconnect the drive, remove it from its enclosure, and put it back in its protective case.
The Bottom Line
One of the most common problems that Mac users face is data loss. The most common cause of data loss on Macs is a hard drive failure. Thankfully, there are a number of ways to recover data from an external hard drive, and most of them are easy to do. While there is no guaranteed way to prevent data loss, taking the proper precautions can help reduce the risk of loss.
External hard drives are a great way to store extra data, but make sure you back up your data regularly. When the time comes to recover data from an external drive, use an affordable and honest data recovery company to ensure that the data is properly recovered.